Date: 09.11.2017
Start of the tutorial: 9 am
Actual start of the tutorial: 9.30 am
Place: Penryn Campus Exchange
Current project: Made it!
Subject: Adobe Illustrator
The question: Can you draw?
The actual question: Are you good at Illustrator?
Just like our timetables this year and the actual time of the lectures, drawing and CAD skills don’t have anything in common. Regardless of the performance of your pencil on paper, it turns out that you could easily master Adobe Illustrator. There is one particular skill, however, that is compulsory for everyone, willing to give the program a go. Patience – loads of it.
For everyone who has tried themselves on Illustrator, it probably seems like a nightmare in the beginning: layers, sub layers, strokes, brushes, pen tool…wait, where did that line just go?
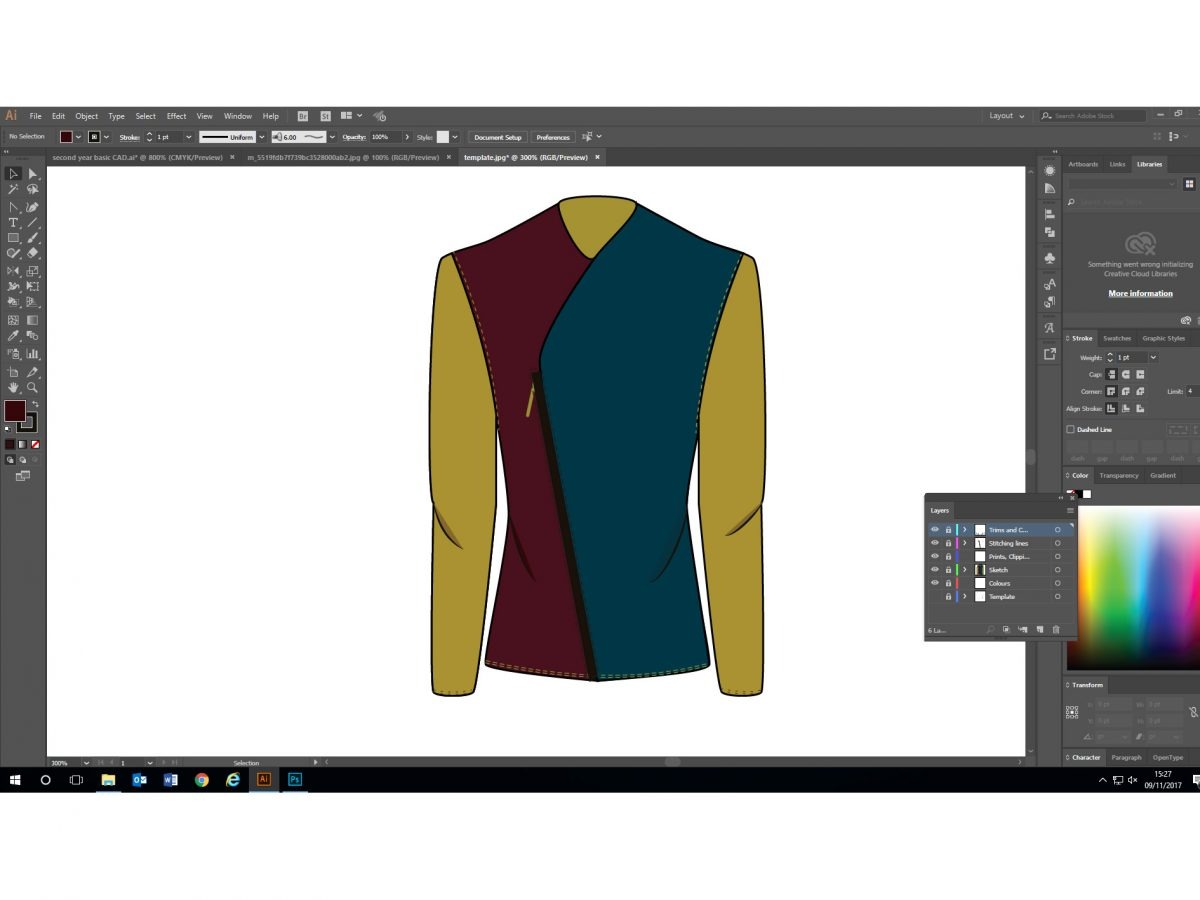
Well, apparently it is not as hard as it looks when you put some order into it. I know, artists are messy, but try tidying up just this time, you won’t regret it, I promise. So, our tutor’s advice is to first create separate layers for colours, sketches, prints and clipping masks, stitching lines and trims and other components.
Once you have done this, you can start creating your garment, not forgetting to make your life easier by using the ‘Reflect’ tool. If you have used Illustrator you have surely had problems grouping the objects, so make sure you check through your layers, put everything in the right ones and group and ungroup as many times as necessary.
Another useful piece of advice we were given is to use the ‘Pathfinder’ tool, which could help you divide, merge, or unite the desired objects, whereas the ‘Shape Builder’ tool could recover the previous shape of your garment.
Symbols could be also quite helpful, as you could use them for different parts of your garment, as well as create new ones by dragging them to the ‘Symbols’ window. Putting a print on your illustration is also quite easy, if you make sure the image you are going to use is embedded and then select the desired panel and drag it over the print. You could then put a clipping mask on it. The same way you could add colour and shadings to make your garment look realistic.
So, you could give it a go as I did in my lectures gap.